Fontastic - Part I
In the previous post, we spoke about why Nischal and I started Fontastic as a side project. However, a year down the line, we realized there were major learnings for us while working on the project and this could be useful to many others as well. Hence, we decided to share our learnings through a series of posts and we start with data acquistion as our first story.
In this post we cover the various data acquisition strategies we had to experiment and their pros and cons.
Strategy 1 - Google Fonts
Google fonts being a pretty looking site and having one of the largest collection of free fonts was our obvious first choice. Our idea was to scrape images of sample text (or specimen) for various fonts across different font weights and styles. Soon we realized that google fonts does not render images, unlike other font sites, rather is rendered as pure HTML. Below is the DOM of one of sample texts.
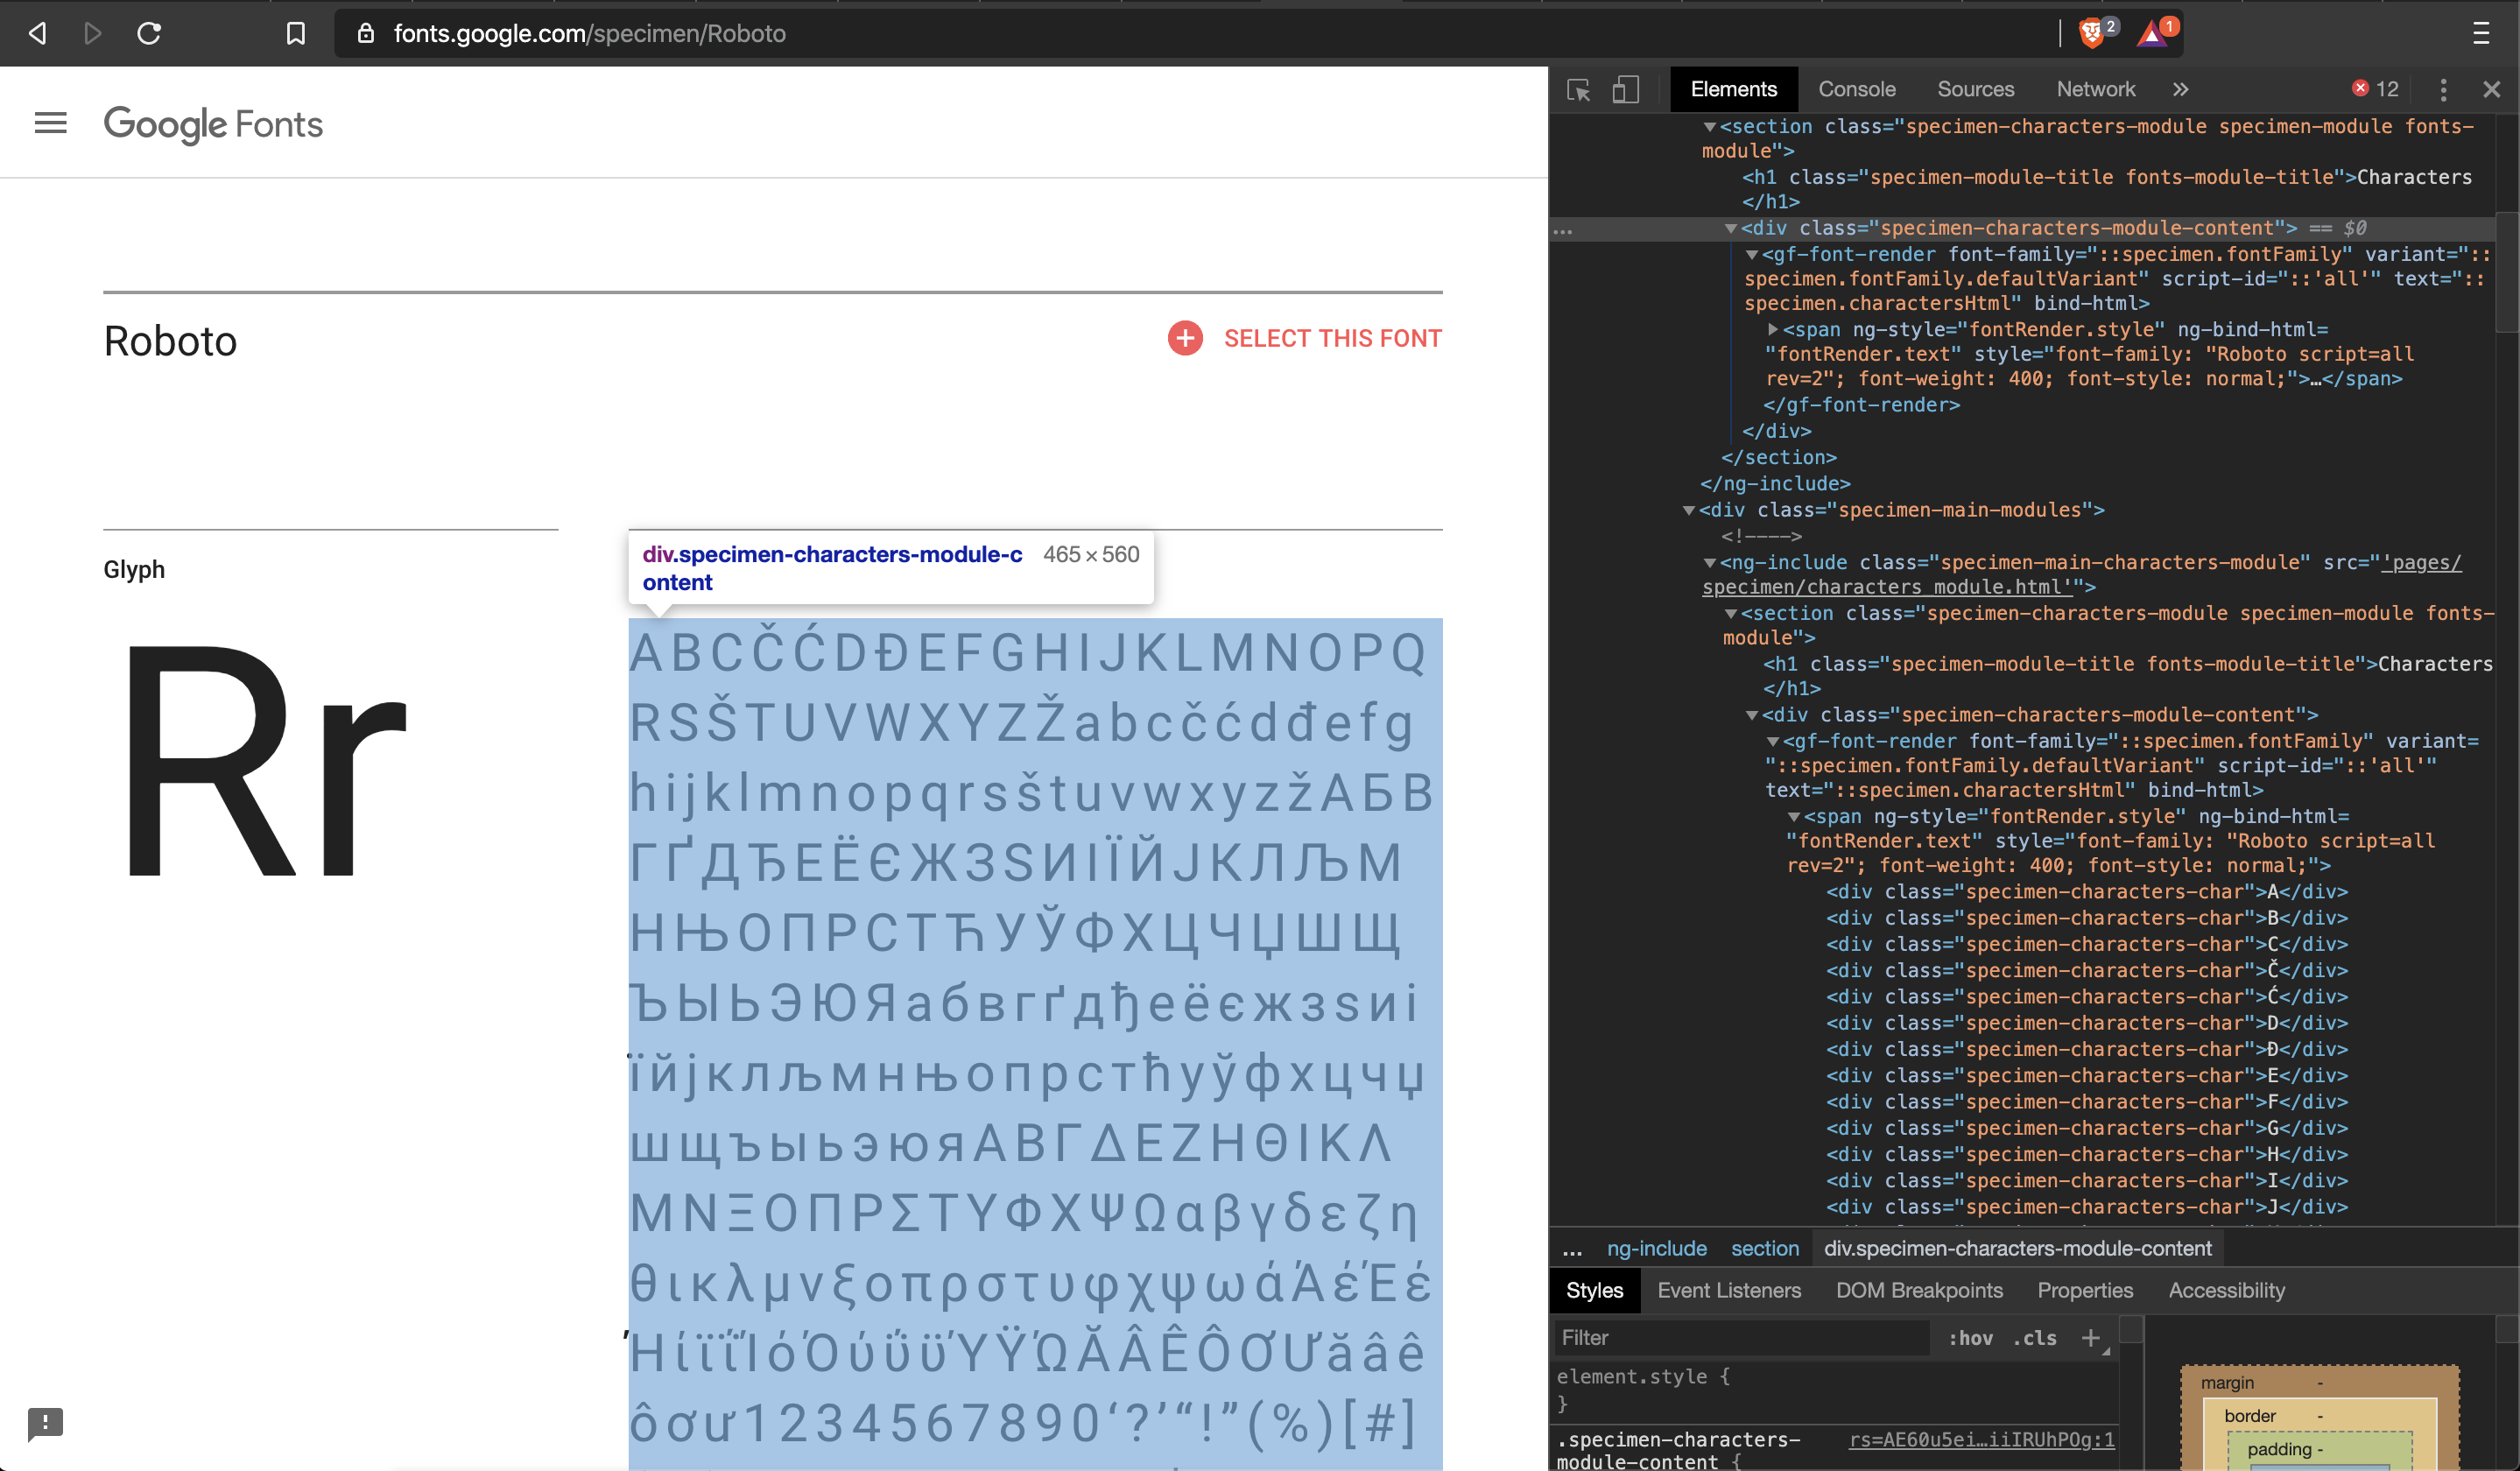
This mean image scraping from google fonts is out of the basket. If we need to continue with google fonts, we would need to switch to a more complicated data acquisition framework. From our previous work, we know that Puppeteer would solve this by taking screenshots of the web page. This means we would have to spend a lot of time writing scripts to automatically opening Google Fonts, make some operations - font selection, fill sample text, and then save screenshot of the rendered web page. While this is doable, we thought this would unnecessarily complicate the entire process. We decided to use this as our last option in case we did not find any other way to acquire data.
Strategy 2 - Font Squirrel
Font Squirrel renders sample text / font specimen as an image. This means we can scrape the image with simple tools like BeautifulSoup. We wrote a simple python script to pull all specimen images. The problems we faced with this approach were:
- Very few specimen images (5 images) available for a font style.
- Each image is of different dimension and aspect ratio. Even with normalizing and resize / cropping we would end up with 10 images as an upper limit.
We would end up with a low data problem.
Strategy 3 - DaFont
We discovered that DaFont is one of the easiest websites to scrape font specimen images. After detailed analysis of their URL slugs, we figured out it was a simple combination of font family and sample text passed as query parameter. Something like this - https://www.dafont.com/roboto.font?text=hello+world
One could go to the next step and pass a long sample of Lorem Ipsum text as param. But …
This would result in text overflow and being cropped
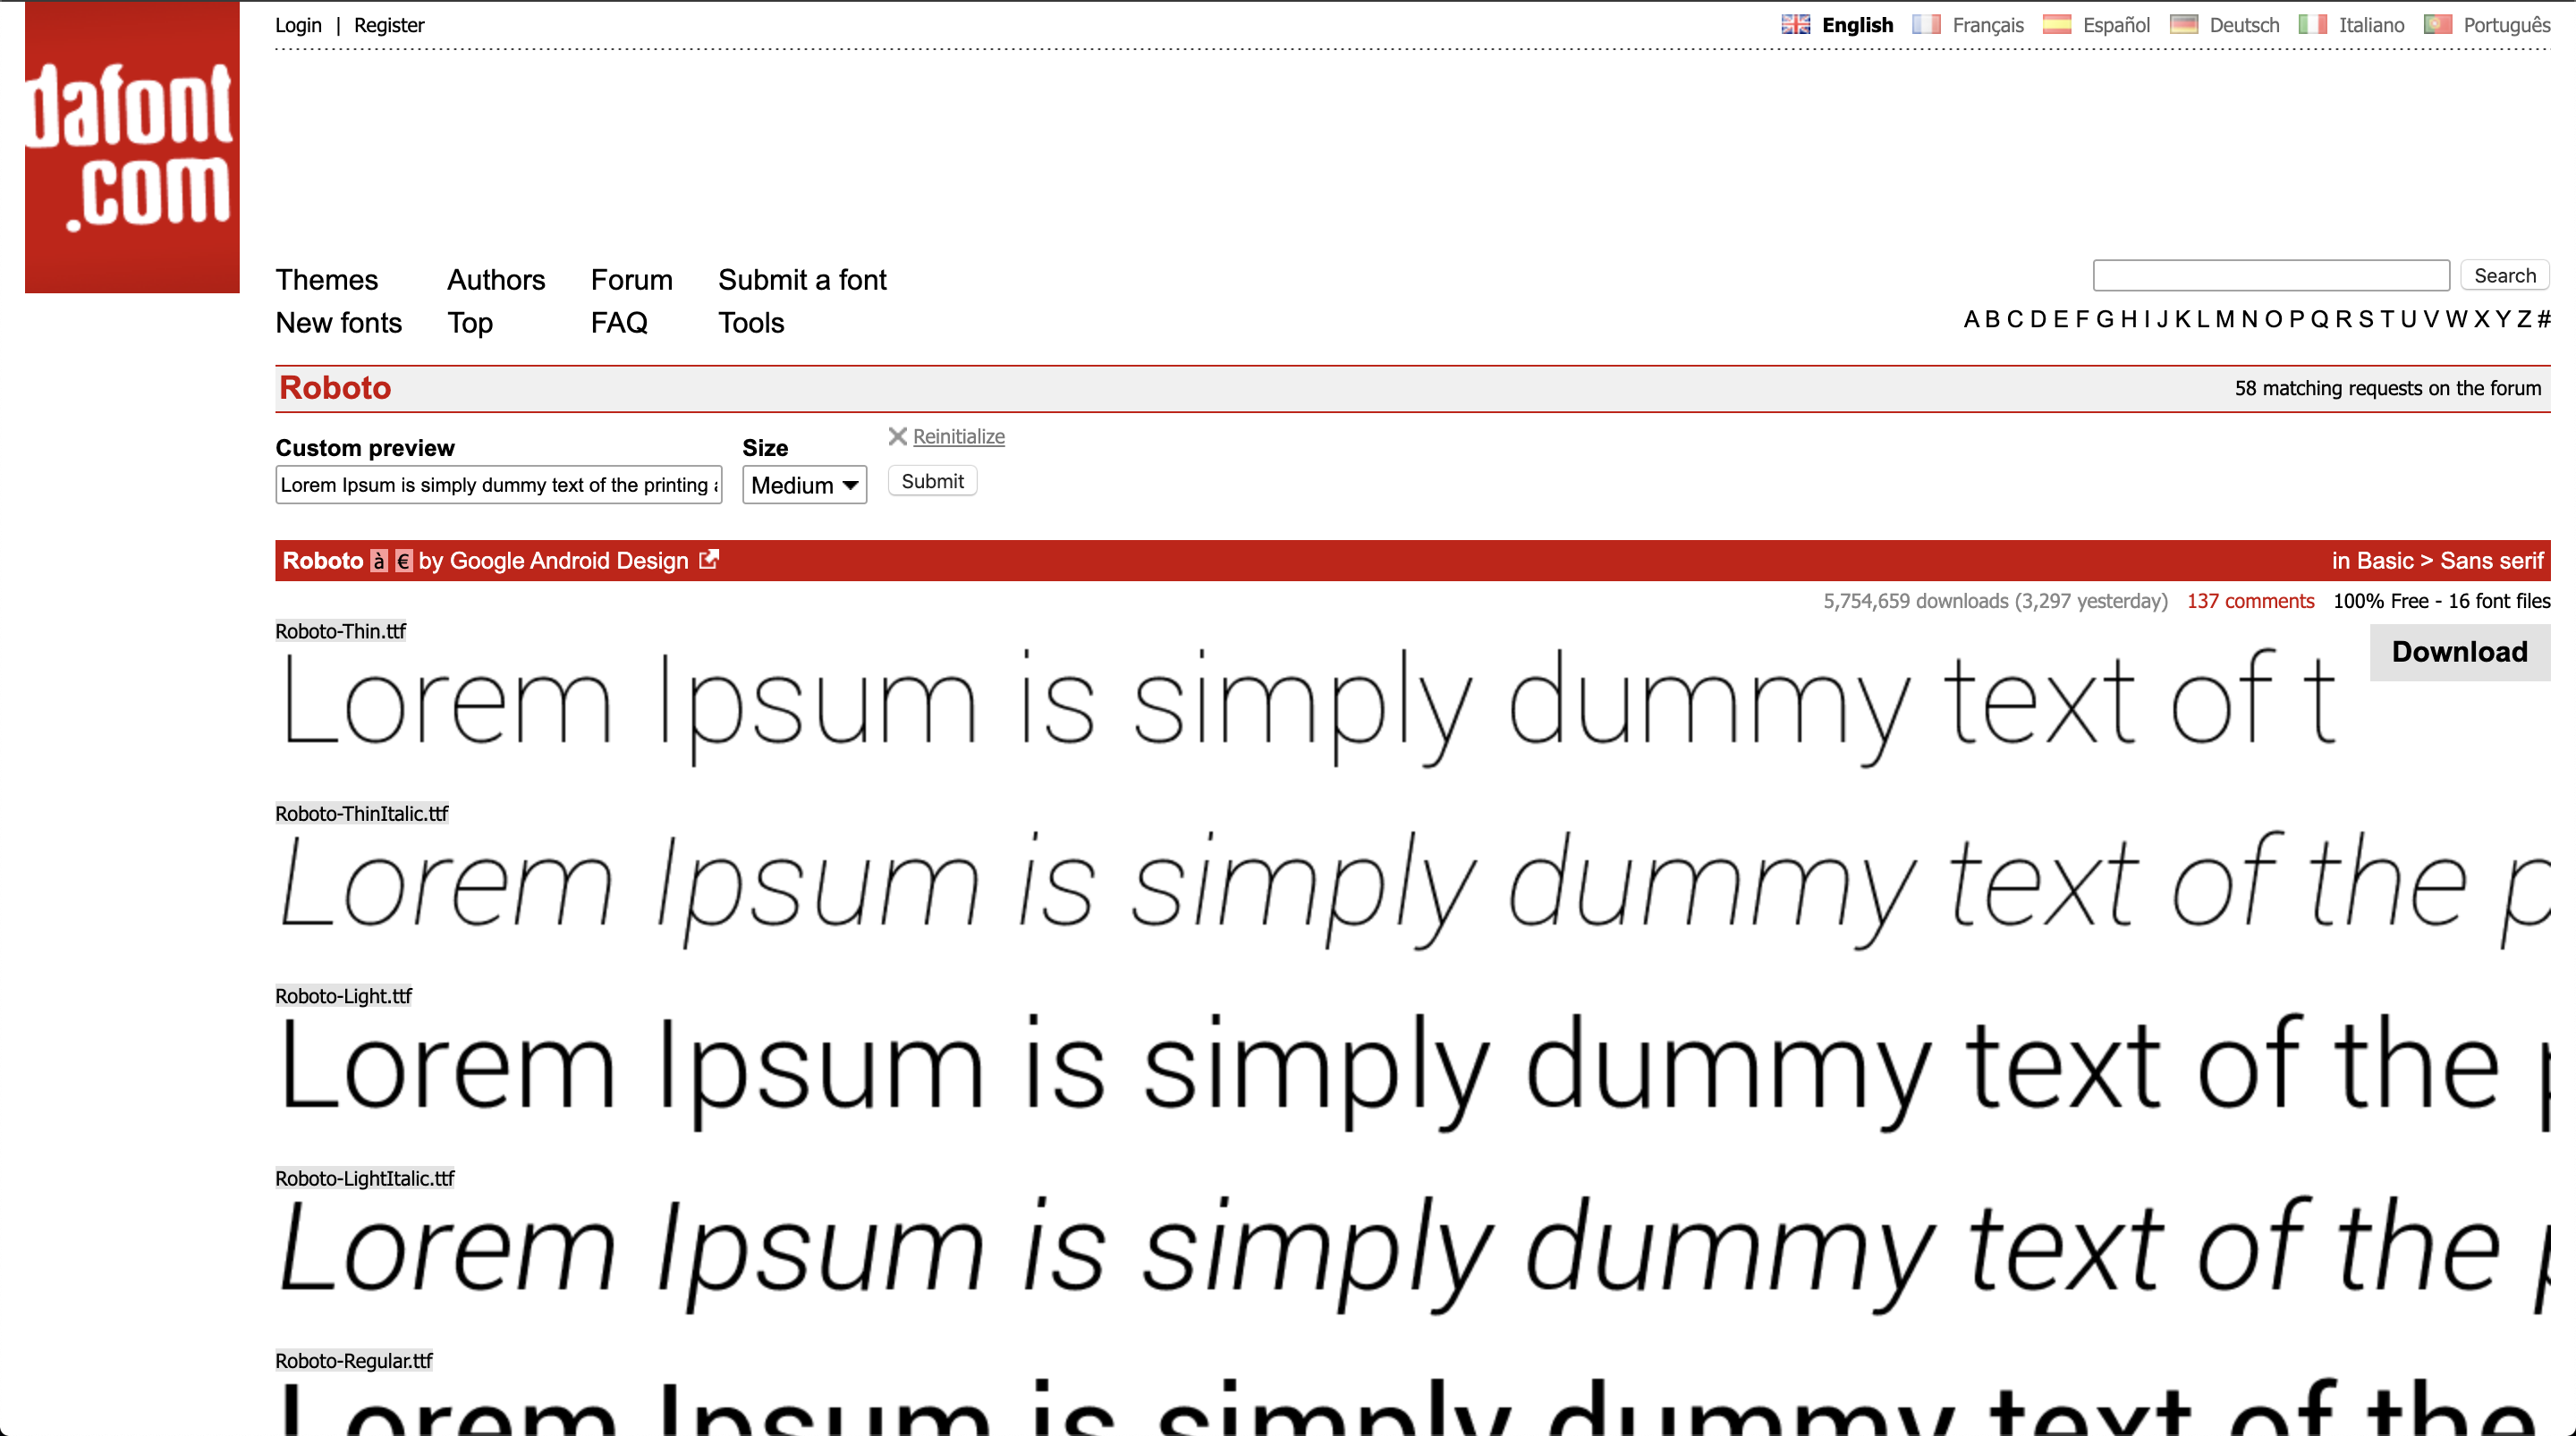
The other problem is that it renders the complete text as a single line rather than wrapping it as multi-line. As a strict outcome, we wanted our model to detect font for a multi-line text as input with the end use perspective. We wanted anyone to submit a square patch of multi-line text and our model should be robust enough to handle such data.
This meant another roadblock encounter!
We spent few weeks trying all other possible ways to get image data. Nischal and I discussed over multiple calls various ways that could work, but all in vain. During one of Nischal's elaborate google search sessions, he found a blog that mentioned ways by which we could use PIL - pillow library in python, to use fonts installed on any machine to generate an image. This meant we could generate synthetic data!
Strategy 4 - PIL to the rescue
We modified the technique mentioned in the blog to suit our image generation requirements like specific sizes and mix of font weights and layout. All we required was TTF files of any font to generate data. With this, we did the following for every font style (font style refers to Roboto Bold Italic as an example):
- Generate high resolution 4K image of with random text and layouts.
- Take 10 random crops of size 256x256 px
This means we have close to 400 image for every font depending on the number of styles and weights that are supported by that font. The below images give you a better idea of what each step does
- Generate 4K image

-
Random crop of 4K image

-
All random crop images

What are the upsides with this approach?
- We control the input text and layout
- We control the font style and size
- We control the output image dimension
With this, we were done with data acquisition problem with very good control over the amount of data that can be generated. In general, data acquisition is the most time consuming task in any machine learning problem. Often we see that people are only interested in building machine learning models. But from our experience of building, deploying and maintaining machine learning models at scale, we know for sure that data acquisition has to be thought through carefully as it impacts quality of models built and how well you can scale them.
Stay tuned for the next part in this series, where we will talk about various deep learning models we experimented to get to the solution.